
Making Sourdough Bread is a Rhythm not a Recipe
I started making sourdough bread a few years ago, and now I almost never buy bread from the store. At first it is a little intimidating because of how complex the information can be. Some people say you have to make it this way and with these ingredients and you need to use these special tools, but it’s really not as complicated as it seems.
Over the last few years— and after much trial and error— I have learned that any sourdough bread recipe you try will turn out completely differently from the bread of the people who gave you the recipe. And that’s ok! Your environment is a big factor in sourdough bread making, and this fact is not something I hear talked about enough. It will take a lot of successes and failures, and a lot of tweaking and troubleshooting and that’s what I want to talk about today. Let’s start off with some basic sourdough bread troubleshooting, and then I’ll leave my easy beginner sourdough loaf recipe.

Sourdough Troubleshooting
I’ve found that there are three main causes of issues with sourdough bread: time, temperature, and hydration.
1. Bread isn’t Rising
Temperature is the main reason for bread not rising. If it’s too cold your bread will rise much slower than if it’s a bit warmer. If you suspect temperature is the cause of the slow rise simple let your bread proof for longer or find a slightly warmer space such as in or on your oven or close to a vent.
Bread not rising properly is the only time where there may be an issue with your starter. If you’ve made your own starter and it’s the first time you’ve used it, you may have to feed it a few more times before using it to make bread again, since your starter is what causes the bread to leaven.
2. Bread Overproofing
All three issues could be the culprit for overproofed sourdough. If your kitchen is too hot your bread may be over proofed before you even realize (in an old house with bad insulation this is a big problem. Ask me how I know). Try a shorter proof time to minimize the over heating or proof it in the evening or early morning before the hottest time of the day.
Next could simply be that you left it for too long to proof. If you go over the eight hour mark, your sourdough is likely to more than double in size which will cause a lot of loss to structure. Try again to shorten your proof time.
The last cause could be hydration, which just means you have too much or too little water in your dough. I live in a dry climate, which means that my recipe might have too much hydration if you live it in a very humid climate. If you’re dough overproofs easily try adding less water next time.

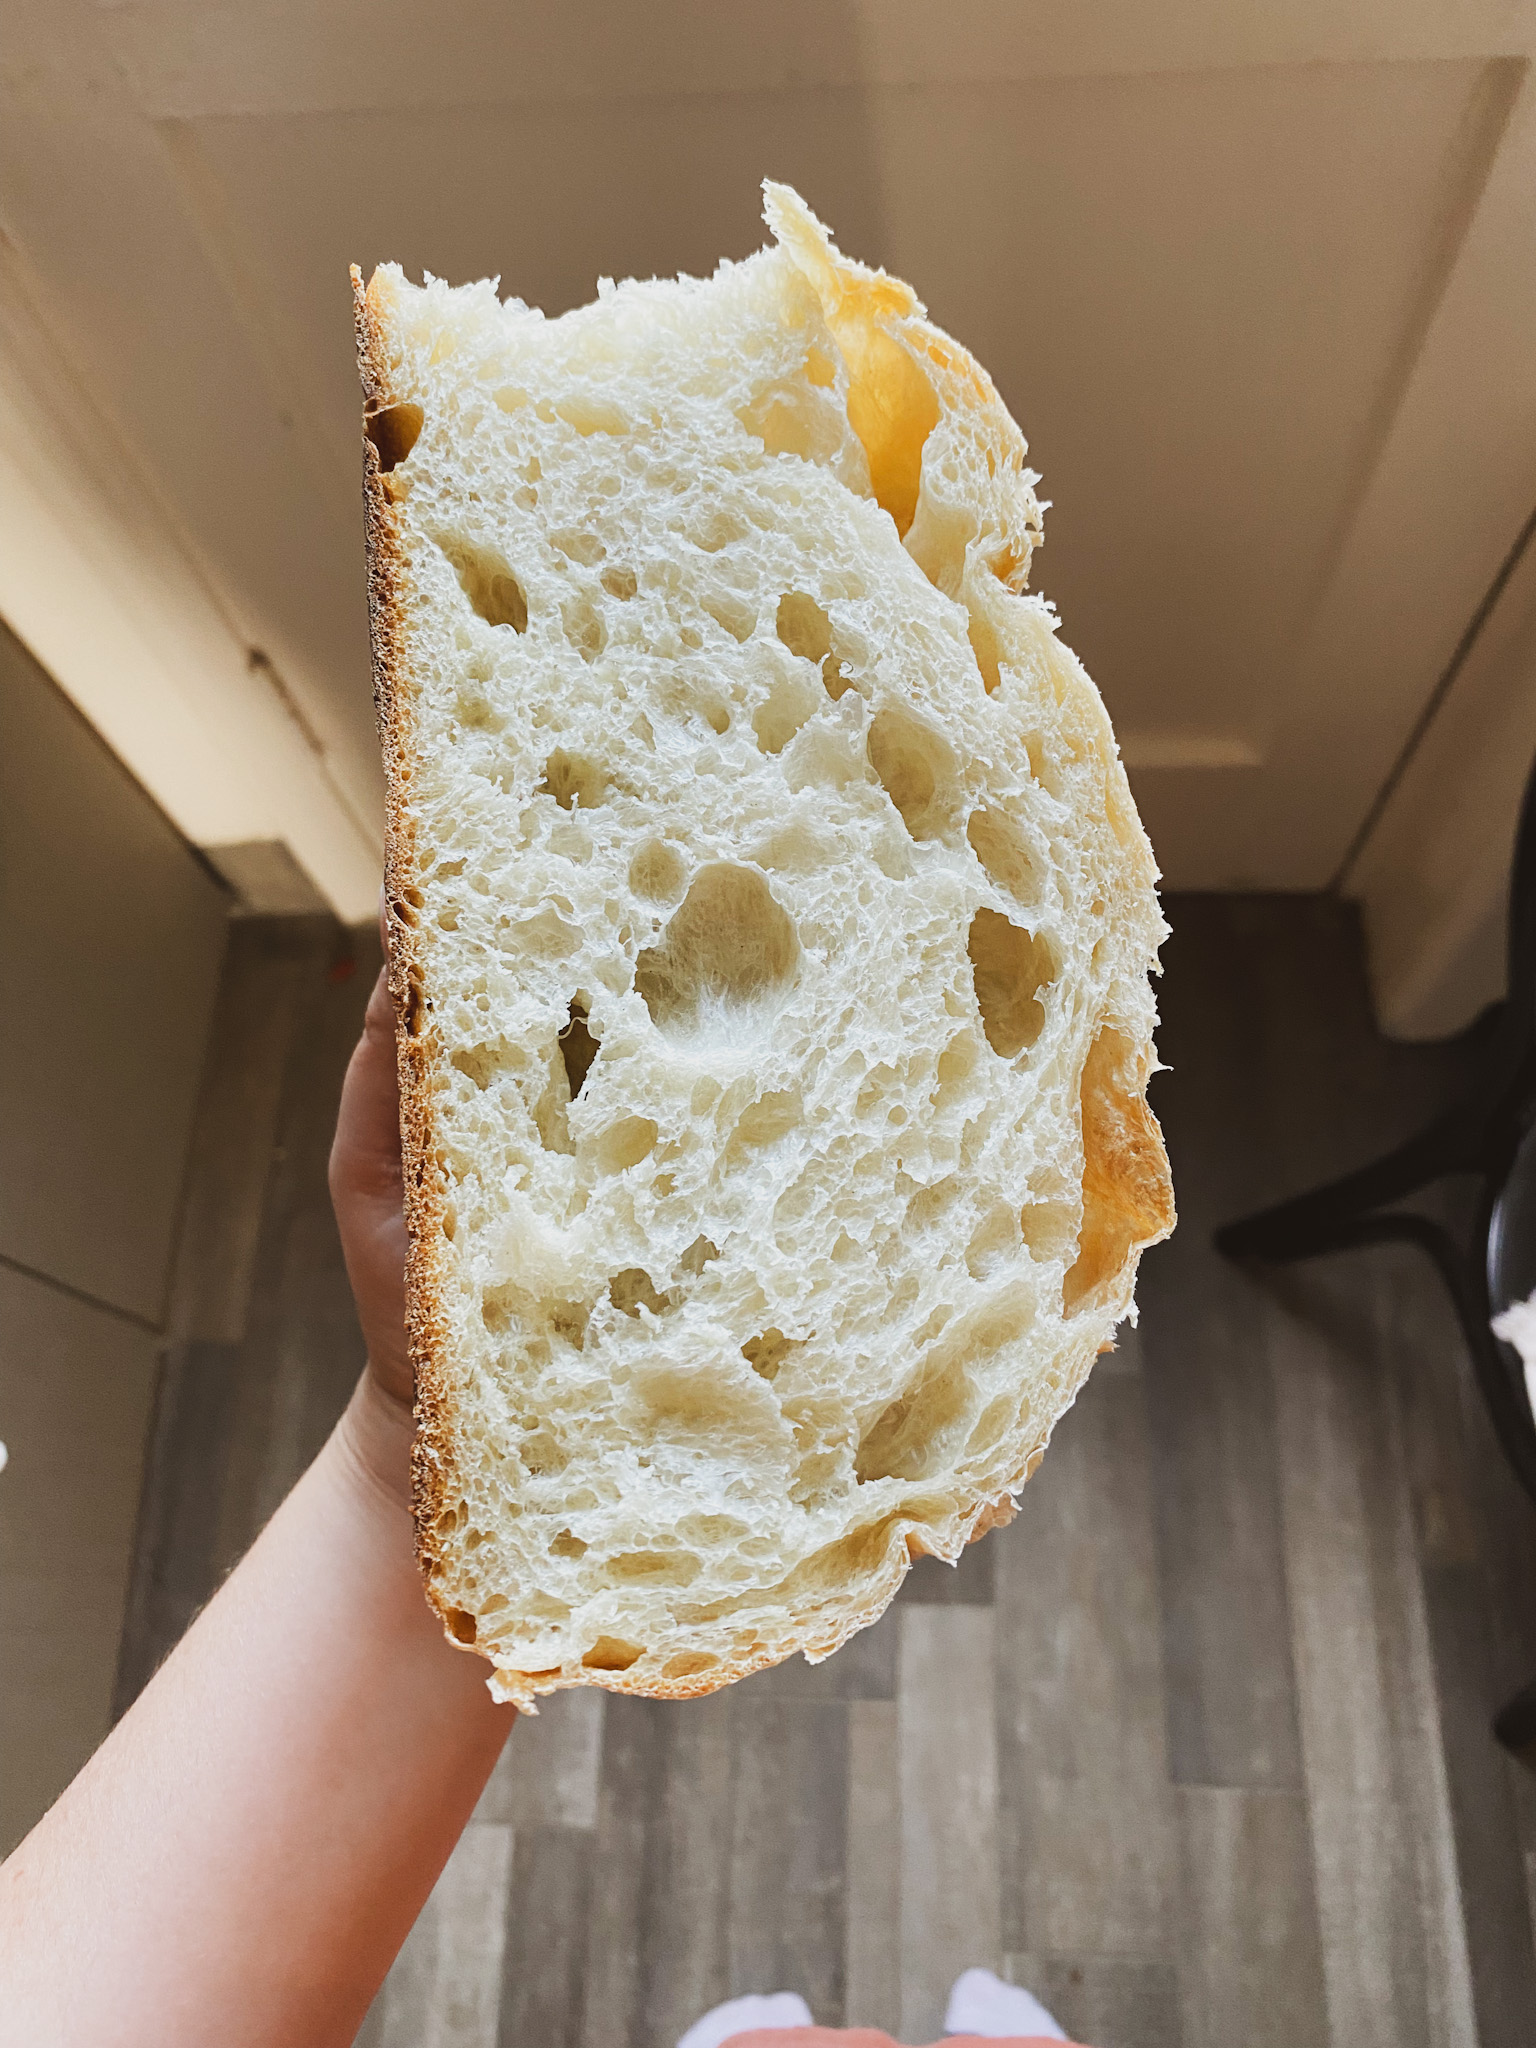
3.Bread too Dense
The last issue is, for me, more of an aesthetics issue rather than a practical issue. Your bread being too dense isn’t a problem if it doesn’t bother you, but if it does bother you than two things could be at play. First is temperature. If your kitchen is cold or the water you used is too cold, your dough may seem dense and have a tight crumb. Try using warm water or placing your dough next to a warm vent.
And lastly could be hydration again. If you don’t have enough water your dough will be very dense. Try adding just a teaspoon of water at a time during your stretch and folds until you reach the right consistency.

This is the sourdough recipe that works the best for me. It is a slightly smaller round loaf but it will make the perfect sandwich loaf too.
Easy Basic Sourdough Bread
Ingredients
- 3 cups flour (any gluten flour you prefer)
- 1 ½ cups water
- ⅓ cup active starter
- 1 ½ Tsp. Salt
Directions
- Mix all ingredients except salt until mostly incorporated (it may be sticky, and it will have some structure but will not hold its shape)
- After waiting 15-30 min. Fold in the salt until a rough ball is formed
- Stretch and fold every 30-45 until you have a glossy structure ball (about three to four times)
- Cover in glass bowl and set aside until doubled in size (anywhere from 4-8 hrs. depending on temperature in your home)
- Once proofed, tip dough out onto a floured surface, and shape into a round loaf.
- Place into a floured banneton or a bowl with a floured towel, cover, and put in the fridge to proof overnight, or until you’re ready to bake.
- Place loaf into a pre-heated Dutch oven, and bake covered for 30 min at 475F, and for an additional 15 min at 500F
- Cool, cut, and enjoy!
That’s a Wrap
There you have it; troubleshooting solutions for the three main issues with sourdough bread.
I am by no means an expert; I am simply a homemaker who makes sourdough bread for my family all the time. If you have any other suggestions for sourdough troubleshooting leave your suggestions in the comments. I’d love to hear what works for you, as I still have so much to learn. Happy bread making!